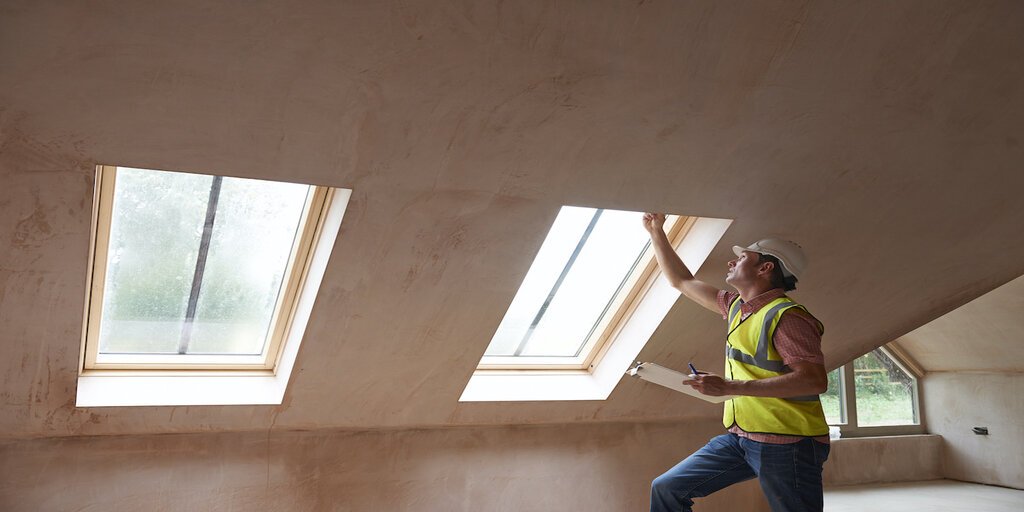
Snagging is an integral part of closing out any building project. It’s important to know what is a snagging list for a successful building project. You may already be familiar with the term, particularly if you have undergone some sort of building renovation in past. But to ensure your house extension finishes well, it is imperative that you know exactly what the process involves, so here is a guide to snagging building projects effectively.
What is snagging?
Given the varied nature of construction, there is no universally accepted definition of snagging. In the home renovation and improvement sector, however, we can take snagging to be the process of identifying and fixing minor defects at the end of a building project.
Types of snags
The types of snags and defects you may encounter are too numerous and varied to list out completely, so instead I will categorise the seven different types of defects, with a classic example of each.
1. Design flaws
A kitchen cupboard with adjacent doors that clash when fully opened.
2. Materials issues
Efflorescence in roof tiles or brickwork.
3. Omissions
Anything accidentally missed from the build specification – usually smaller things that happen at the tail end, such as the installation of an external power socket.
4. Craftsmanship
An uneven handwash basin that pools water on its flat surface.
5. Functional defects
An external door with a misaligned locking mechanism.
6. Cosmetic defects
Surface scratches and scuffs.
7. Latent defects
Slow-emerging issues that appear after weeks or months, such as setting cracks between the new staircase stringer and adjoining wall. You won’t catch them on your snag hunt, but you have the retention payment as your safety net in case such things materialise.
When to snag
The optimum time to snag is when the job reaches practical completion, i.e. when the builder packs up and leaves site, handing you back your home.
Book a professional post-build clean immediately after the crew depart, because a clean space will reveal any dents and dings concealed beneath dust.
How long snagging should take?
Following a prompt clean, two to three days provides sufficient opportunity for you to inspect the new space and experience the functionality it provides.
Anything longer than this would be unfair to the builder – they will be keen to see the snagging list so they can plan resources, block out time to carry out remedial work, and get paid.
Who should do the snagging?
In a word: you. Nobody knows their way around your home better than you, so use the new space in its intended way, jotting down any defects as you encounter them.
You could hire a professional snagging surveyor to do it, but retaining their services for a standalone extension is perhaps excessive (and costly). Their primary products are intrusive surveys, and their primary market is new-build homes.
How to snag effectively?
Effective snagging isn’t difficult, but it does require attention to detail. Snagging is the process of identifying (and fixing) minor defects at the end of a building project. And the best advice for effective snagging is to keep it simple.
Pen and paper are okay, but photos are better. Armed with your camera/phone, start at the very top (even externally if the scaffolding is still in place and safe to access), and work your way down and around. Move systematically, inspecting the ceilings, walls, floors, doors, windows, electrics, plumbing, mechanical aspects (anything with a moving part), and the fixtures and fittings.
Also check the parts of the house adjoining the building area for any collateral damage. Check for any of the seven types of defects listed above, from design flaws through to latent defects. If you spot one, take a photo, and note down a pithy description of the defect.
Snag the whole thing once, then do it again with a fresh pair of eyes. Do it a third or fourth time if necessary.
List out all defects captured on a single document, with photo and description. It might be tempting to send the photos straight to your builder as your take them, but don’t do this. The act of transposing the defects to a single document will force you to review the snags before they go to the builder, and the better quality your snag sheet, the more thorough the remedial work will be.
There are also several superb apps available that help streamline the snagging process.
Rectifying snags
Hand the final snagging list over to the builder and agree a mutually convenient date to carry out the remedial work, ideally within a fortnight of practical completion.
To your builder, the snag sheet is a to-do list of tasks that need completing to your satisfaction before receipt of the final instalment of the payment schedule. Although the builder will be returning at the end of the latent defects period to address any slow-emerging issues, any further snags that you flag up after presenting your final snagging list can be treated as chargeable extras, so be sure to snag thoroughly from the outset.
Do not let the builder’s enthusiasm to finish the job deter you from being thorough when snagging. The more systematic you are with it now, the less chance there will be you’ll need to call the builder back later. With this mini guide to snagging building projects effectively, you are in a better position play an active role in helping to bring a successful, strong end to the building work. Next, let’s see how you can finish the project on a high.


