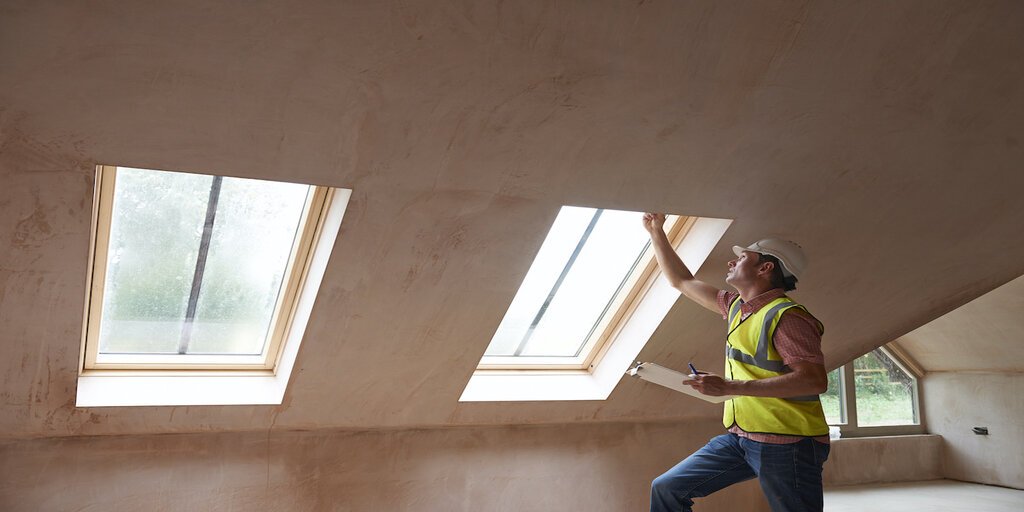
A snagging list is a single document listing every small defect you find when your builder hands your home back, from a scuffed skirting board to a door that won’t close properly. Your builder uses it to fix everything before the final payment. Done well, it takes two to three days and saves you calling the builder back for months afterwards.
Snagging is one of four stages that close out a loft conversion or extension. Many homeowners and builders think the job ends the day the builder leaves site, but it actually finishes in four steps.
A build is only finished when all four stages are done
| Handover ➔ Builder hands back your home | Snagging ➔ You list defects, builder fixes them | Paperwork ➔ Certificates and warranties handed over | Retention Final payment after the defects period |
The build is only properly finished once all four are done. This guide covers each one, with a room-by-room snagging list you can use on your own project.
What is snagging?
Snagging is the process of finding and fixing minor defects at the end of a building project. A “snag” is anything that isn’t finished properly, doesn’t work as it should, or doesn’t match what was agreed. Snags are usually small: they don’t stop you using the room, but you shouldn’t have to live with them.
A snagging list is not for design changes. If you decide you’d prefer a different light fitting, that’s a change, not a snag, and may cost extra.
The seven types of snag
| Type | What it means | Example |
|---|---|---|
| Design flaw | The design doesn’t work in practice | Two cupboard doors that clash when both are opened |
| Material issue | A problem with the material itself | White salt marks (efflorescence) on new brickwork |
| Omission | Something in the specification was missed | An outside power socket that was never fitted |
| Craftsmanship | Work that isn’t finished to a good standard | An uneven basin that leaves water pooling |
| Functional defect | Something that doesn’t work properly | An outside door whose lock doesn’t line up |
| Cosmetic defect | Visible marks or damage | Scratches, scuffs, paint on glass |
| Latent defect | A problem that only shows up later | Settling cracks between a new staircase and the wall |
You won’t catch latent defects on your first inspection, because they appear weeks or months later. That’s what the defects period and the retention payment are for (see below).
When should you snag?
The best time is straight after practical completion: the point when the builder finishes the scheduled work, has the final building control inspection, clears the site and hands your home back. By then they should also have shown you how to use anything new, such as heating controls, locks and rooflight remotes.
Book a professional clean as soon as the builders leave. Dust hides dents, scratches and paint marks, and a clean room shows them up.
How long should snagging take?
Allow two to three days after the clean. That gives you time to live in the new space and use it properly: open every window, run every tap, try every switch.
Don’t stretch it out much longer. Your builder needs the list to plan the remedial work and book the right trades, and the final payment usually depends on it.
Who should do the snagging?
You. Nobody knows how you’ll use your home better than you do, so use the new rooms as you intend to and note down anything that isn’t right.
You can hire a professional snagging surveyor, but for a single loft conversion or extension it is usually unnecessary and costly. Snagging surveyors mainly work on new-build homes.
How to snag effectively
Good snagging isn’t difficult, but it needs attention to detail. Keep it simple:
- Use your phone. A photo of each snag is clearer than a written description alone.
- Work from the top down. Start at the highest point (outside too, if the scaffolding is still up and safe) and work down and around each room. Check ceilings, walls, floors, doors, windows, electrics, plumbing, anything that moves, and the fixtures and fittings.
- Check next to the work area. Look at rooms and parts of the house beside the building work for accidental damage, such as cracked plaster, scuffed stairs or marked carpets.
- Go round more than once. Snag everything, then do it again a day later with fresh eyes.
- Put everything on one document. Number each snag and give it a photo, its location and a short description. Don’t send photos to your builder one at a time. A single, clear list gets a more thorough fix.
There are also snagging apps that put the photo, location and note together for you.
Snagging list for a loft conversion or extension
Use this room-by-room checklist as a starting point.
Outside
- Roof tiles, slates and flashing neat and secure, with no gaps
- Flat roof covering finished at edges and around rooflights, with no pooling water
- Brickwork, render or cladding clean, with no paint or mortar splashes
- Gutters and downpipes fitted and connected
- No damage to the garden, paths, driveway or neighbours’ property
Walls, ceilings and floors
- Smooth plaster and paint with no patches, cracks or drips
- Even, sealed joins where new walls meet old
- Skirting boards and architraves fitted tight and painted
- Floors level, with no squeaks, gaps or scratches
Doors and windows
- Every door opens, closes and latches without catching
- Fire doors close on their own and fully latch
- Windows and rooflights open, close and lock; blinds and remotes work
- No scratches on glass, and frames are sealed
Stairs
- Treads and handrails secure, with no creaks or movement
- No gaps between the staircase and the wall
- Stair lighting works from top and bottom
Electrics and heating
- Every socket, switch and light works
- Smoke alarms are mains-powered, linked and working
- Radiators heat up fully, and the heating controls work
- Hot water reaches the new bathroom quickly
Bathroom or en-suite
- Taps, shower and toilet work, with no leaks or drips
- Water drains away from the shower tray, and the extractor fan works
- Tiling and grout even, and silicone neat and complete
Storage and finishing
- Eaves cupboards open and close, with doors aligned
- Loft hatches insulated and closing properly
- All fittings in the specification have been installed
Getting your snags fixed
Send the finished snagging list to your builder and agree a date for the remedial work, ideally within two weeks of practical completion. To your builder, it’s a to-do list to finish before the final scheduled payment.
Be thorough the first time. Your builder will come back at the end of the defects period for anything that appears later, but new snags you spot after handing over the list may be charged as extras. Don’t let anyone’s eagerness to finish rush you.
This is also a good time to tell your home insurer that the work is finished.
Paperwork to collect at the end of the build
Make sure you receive everything on this list before the project closes. You’ll need it when you sell or remortgage.
- Building control completion certificate, confirming the work meets Building Regulations
- Electrical installation certificate for all new wiring
- Gas Safe certificate for any new boiler or gas work
- FENSA or CERTASS certificate for new windows, if applicable
- HETAS certificate for any wood-burning stove, if applicable
- Party wall paperwork, including the party wall award and confirmation that the neighbour’s property was checked at the end
- Roof and product warranties, such as the flat roof system or render
- Manuals and warranties for appliances, heating controls, rooflights and fittings
- Insurance-backed guarantee from your builder, if one is offered
Releasing the retention
Many building contracts include a retention: a small part of the price held back until the defects period ends, usually several months after practical completion. It covers latent defects, the slow-appearing problems you couldn’t spot when snagging.
At the end of the defects period, list anything new that has appeared. Once your builder has fixed it, release the retention. That’s the point when the project is truly finished.
For more on ending the build well, read 6 steps to complete your house renovation on a high and how to interact with your builder effectively.
Planning a loft or extension? We build to a clear handover process, with snagging and paperwork built in.
Snagging list: frequently asked questions
What should be on a snagging list?
Every defect you find, each with a number, its location, a short description and a photo. Typical snags include paint marks, scratches, doors that catch, sockets that don’t work, gaps in sealant and leaks.
When should I do my snagging list?
Straight after practical completion, once the builders have left and the house has been professionally cleaned. Allow two to three days.
Do I need a professional snagging surveyor?
For a single loft conversion or extension, usually not. You know how you’ll use the space better than anyone. Snagging surveyors mainly inspect new-build homes.
What is the difference between a snag and a defect?
A snag is a minor issue you can see at handover, such as a scuff or a door that sticks. A latent defect appears later, such as a settling crack. Snags go on your snagging list. Latent defects are fixed at the end of the defects period, before the retention is released.
Can I add more snags after I’ve sent the list?
You can report problems that appear later at the end of the defects period. But anything you could have spotted at handover and didn’t may be charged as an extra, so be thorough first time.
What paperwork should I get at the end of a loft conversion?
The building control completion certificate, electrical and gas certificates, any window and stove certificates, party wall paperwork, roof and product warranties, appliance manuals, and an insurance-backed guarantee if your builder offers one.
A loft conversion that finishes properly
A good snagging list protects you, but the best protection is a builder who plans the finish from the start: a clean handover, quick remedial work and all your paperwork in one place. Tell us about your loft or extension and we’ll show you how we work, with no obligation.